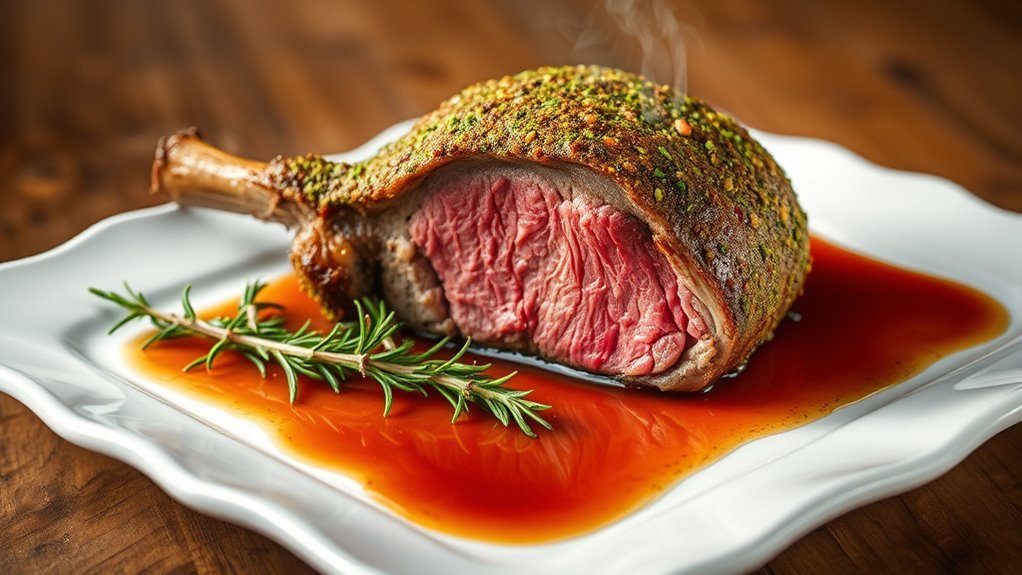
Bone-in pork chops can be a game-changer for your dinner table. They’re juicy, flavorful, and versatile, perfect for any meal. Imagine sinking your teeth into a Honey Garlic Glazed chop or savoring the zesty notes of Lemon Rosemary. Each recipe brings its own flair, making it hard to pick a favorite! Ready to discover some mouthwatering combinations? Let’s jump into these recipes that’ll have everyone coming back for seconds!
Honey Garlic Glazed Bone-In Pork Chops
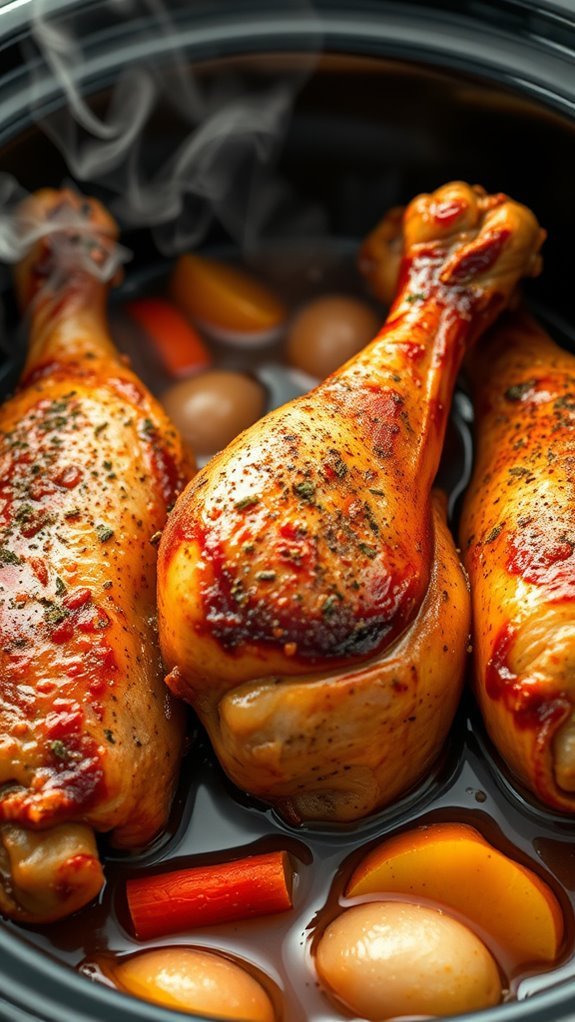
Honey garlic glazed bone-in pork chops are a delicious and easy-to-make dish that will impress your family and friends. The combination of sweet honey and savory garlic creates a mouthwatering glaze that perfectly complements the juicy pork chops. With a simple preparation and cooking method, you can have a flavorful meal on the table in no time.
Serve these delectable chops alongside your favorite sides for a satisfying dinner.
Ingredients:
- 4 bone-in pork chops (about 1 inch thick)
- Salt and pepper, to taste
- 2 tablespoons olive oil
- 1/4 cup honey
- 4 cloves garlic, minced
- 2 tablespoons soy sauce
- 1 tablespoon apple cider vinegar
- 1 teaspoon ground ginger (optional)
- Fresh parsley, chopped (for garnish)
Instructions:
Season the pork chops with salt and pepper on both sides.
In a large skillet, heat the olive oil over medium-high heat. Add the pork chops to the skillet and sear for about 4-5 minutes on each side, or until they’re nicely browned.
In a small bowl, whisk together the honey, minced garlic, soy sauce, apple cider vinegar, and ground ginger. Pour the honey garlic mixture over the pork chops in the skillet, reduce the heat to medium, and cook for an additional 5-7 minutes, spooning the glaze over the chops occasionally, until the pork is cooked through and reaches an internal temperature of 145°F.
Remove from heat and let the chops rest for a few minutes before serving.
Extra Tips:
For the best results, choose bone-in pork chops as they tend to be juicier and more flavorful than boneless cuts.
Make sure to let the pork chops rest after cooking, as this allows the juices to redistribute and keeps the meat tender.
You can also customize the glaze by adding spices such as red pepper flakes for a hint of heat or fresh herbs for additional flavor.
Serve the chops with steamed vegetables or a side salad to balance the sweetness of the glaze. Enjoy your meal!
Herb-Crusted Bone-In Pork Chops

Herb-Crusted Bone-In Pork Chops are a delectable and savory dish that brings out the rich flavors of pork complemented by the freshness of herbs. This recipe is perfect for a special occasion or a comforting family dinner, providing a delightful combination of a crispy herb crust and juicy, tender meat.
With a handful of ingredients and straightforward cooking techniques, you’ll have a restaurant-quality meal on your table in no time.
Ingredients:
- 4 bone-in pork chops (about 1 inch thick)
- 2 tablespoons olive oil
- 1 tablespoon Dijon mustard
- 1 teaspoon garlic powder
- 1 teaspoon onion powder
- 1 teaspoon dried thyme
- 1 teaspoon dried rosemary
- 1 teaspoon dried oregano
- Salt and pepper to taste
- Fresh herbs (optional, for garnish)
Instructions:
Preheat your oven to 400°F (200°C). In a small bowl, mix the olive oil, Dijon mustard, garlic powder, onion powder, thyme, rosemary, oregano, salt, and pepper to create a flavorful herb mixture.
Pat the pork chops dry with paper towels, then rub the herb mixture all over the chops, guaranteeing an even coating.
Heat a large oven-safe skillet over medium-high heat and add a splash of olive oil. Once hot, sear the pork chops for about 3-4 minutes on each side until they develop a golden-brown crust.
Transfer the skillet to the preheated oven and roast for an additional 10-15 minutes, or until the internal temperature reaches 145°F (63°C). Let the chops rest for a few minutes before serving.
Extra Tips:
For the best flavor, consider marinating the pork chops in the herb mixture for a few hours or overnight before cooking. This allows the flavors to penetrate deeper into the meat.
Additionally, using a meat thermometer guarantees that the pork is cooked to the perfect temperature without overcooking.
Feel free to customize the herbs according to your preference or what you have on hand, and don’t forget to let the pork rest after cooking; this helps keep the juices locked in for a tender bite.
Enjoy your delicious herb-crusted bone-in pork chops!
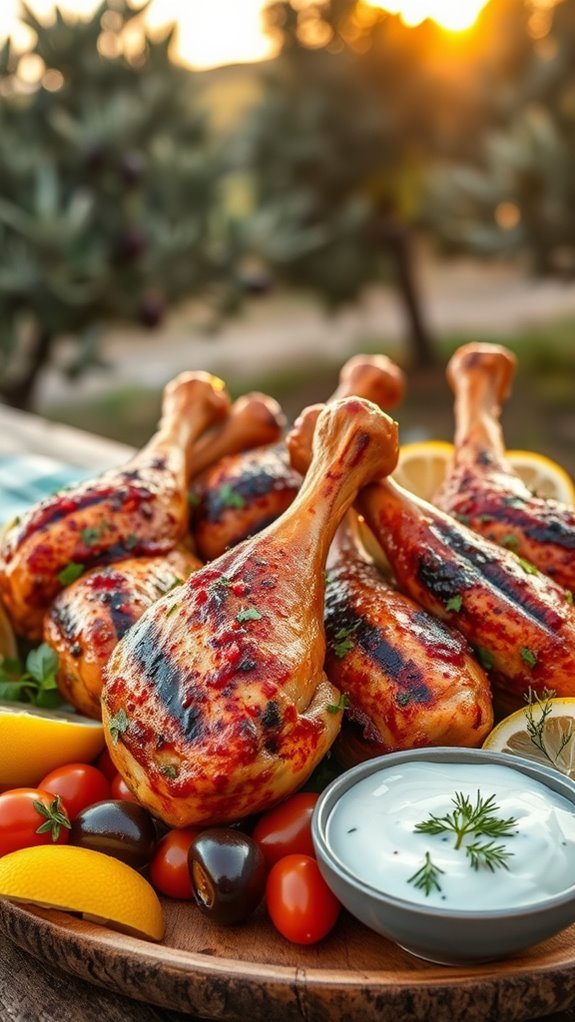
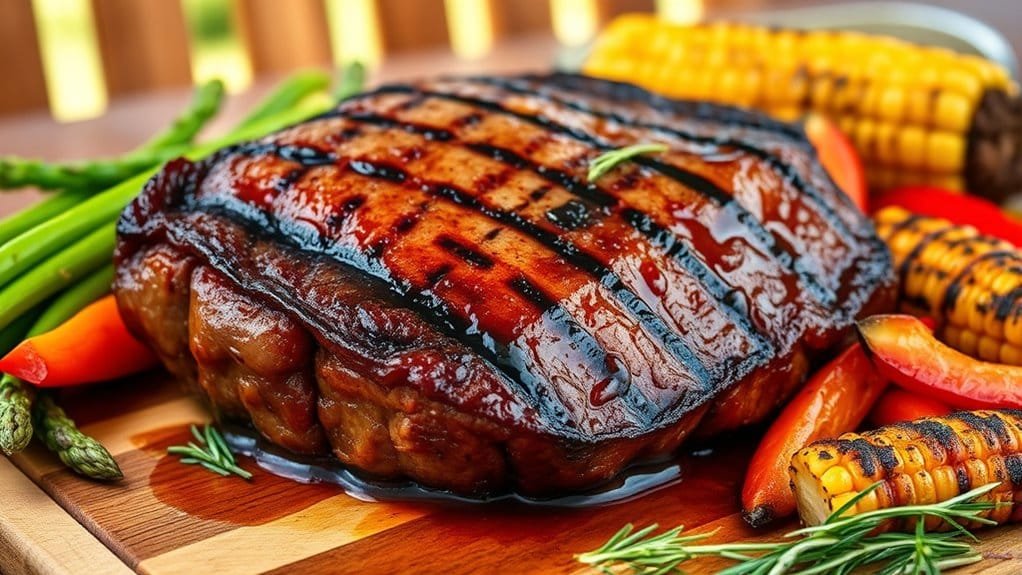
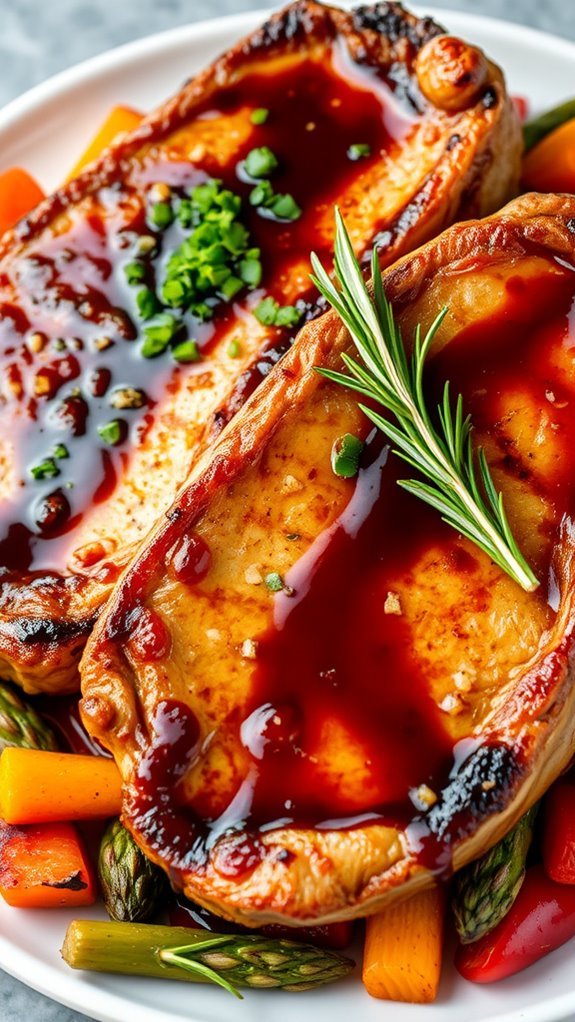
Sweet and Spicy BBQ Bone-In Pork Chops
Sweet and Spicy BBQ Bone-In Pork Chops are the perfect combination of savory and sweet, making them an irresistible main dish for any gathering. The juicy, tender pork chops are improved by a delightful BBQ sauce that adds a kick of heat and a hint of sweetness, creating a flavor profile that will have everyone coming back for seconds.
Whether you’re grilling them outside on a sunny day or cooking them in the oven, these pork chops are sure to impress your family and friends.
Ingredients:
- 4 bone-in pork chops (about 1-inch thick)
- 1 cup BBQ sauce (your favorite brand)
- 2 tablespoons honey
- 1 tablespoon apple cider vinegar
- 1 teaspoon cayenne pepper (adjust to taste)
- 1 teaspoon garlic powder
- 1 teaspoon onion powder
- Salt and pepper to taste
- Olive oil for grilling or frying
Cooking Instructions:
Begin by preheating your grill or oven to 400°F (200°C). In a mixing bowl, combine the BBQ sauce, honey, apple cider vinegar, cayenne pepper, garlic powder, onion powder, salt, and pepper to create your sweet and spicy marinade.
Place the pork chops in a large resealable bag or a shallow dish and pour the marinade over them, ensuring they’re well coated. Allow the pork chops to marinate for at least 30 minutes, or up to 2 hours for maximum flavor.
If grilling, brush the grill grates with olive oil and cook the pork chops for about 6-7 minutes on each side, basting with additional marinade as desired. If using the oven, place the marinated chops on a baking sheet and bake for 25-30 minutes, or until the internal temperature reaches 145°F (63°C).
Let the chops rest for about 5 minutes before serving.
Extra Tips:
For added flavor, consider marinating the pork chops overnight to allow the spices to penetrate deeper into the meat.
If you prefer a thicker sauce, you can simmer the leftover marinade in a small saucepan for a few minutes to thicken it up, then drizzle it over the cooked pork chops before serving.
Additionally, pairing the sweet and spicy BBQ pork chops with sides like coleslaw, cornbread, or grilled vegetables can create a balanced meal that improves the overall dining experience. Enjoy your delicious creation!
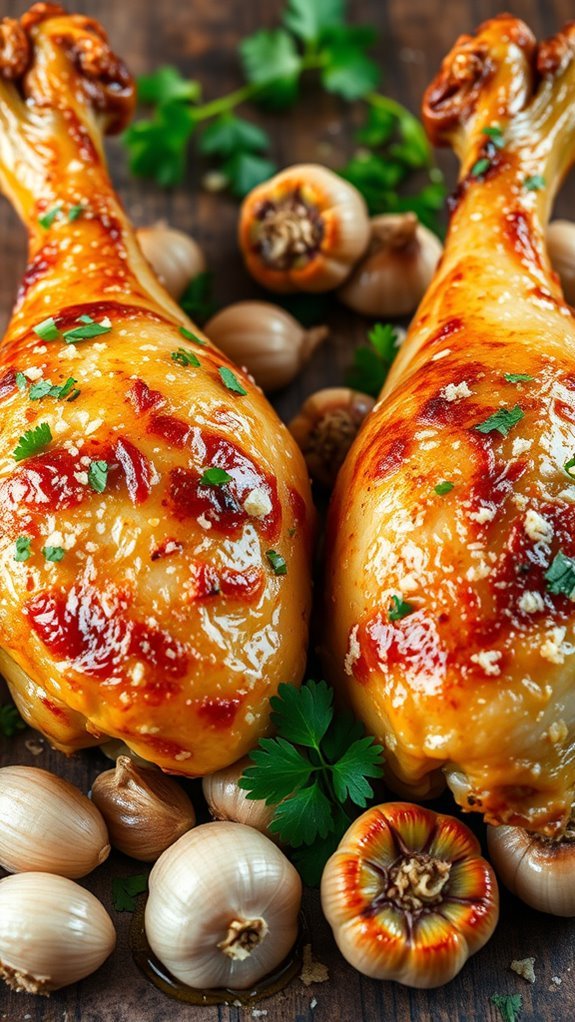
Garlic Parmesan Bone-In Pork Chops

Garlic Parmesan Bone-In Pork Chops are a delicious and hearty meal perfect for any occasion. The rich flavors of garlic and Parmesan cheese complement the juicy pork chops, creating a dish that’s both comforting and impressive.
Whether you’re serving it for a family dinner or a special gathering, these chops are sure to be a hit at the table. Pair them with roasted vegetables or a fresh salad for a complete meal that everyone will love.
Ingredients:
- 4 bone-in pork chops (about 1 inch thick)
- 1/4 cup grated Parmesan cheese
- 3 cloves garlic, minced
- 2 tablespoons olive oil
- 1 teaspoon salt
- 1/2 teaspoon black pepper
- 1 teaspoon dried Italian herbs (oregano, thyme, or basil)
- Fresh parsley, chopped (for garnish)
Cooking Instructions:
Preheat your oven to 400°F (200°C). In a small bowl, combine the grated Parmesan cheese, minced garlic, olive oil, salt, pepper, and dried Italian herbs to create a flavorful mixture.
Pat the pork chops dry with paper towels and rub the Parmesan-garlic mixture evenly over both sides of each chop. Heat a large oven-safe skillet over medium-high heat and add a little olive oil.
Once hot, sear the pork chops for about 3-4 minutes on each side until they develop a golden crust. Transfer the skillet to the preheated oven and roast for an additional 10-15 minutes, or until the internal temperature of the pork chops reaches 145°F (63°C).
Remove from the oven and let rest for a few minutes before serving, garnished with fresh parsley.
Extra Tips:
To guarantee your pork chops remain juicy and flavorful, avoid overcooking them. Use a meat thermometer to check for doneness; this prevents them from drying out.
For an extra layer of flavor, consider marinating the pork chops in garlic and herbs for a couple of hours before cooking. Additionally, let the meat rest after cooking to allow the juices to redistribute, resulting in a more tender bite.
Adjust the amount of Parmesan and garlic to suit your taste preferences, and feel free to experiment with different herbs to customize the dish to your liking.
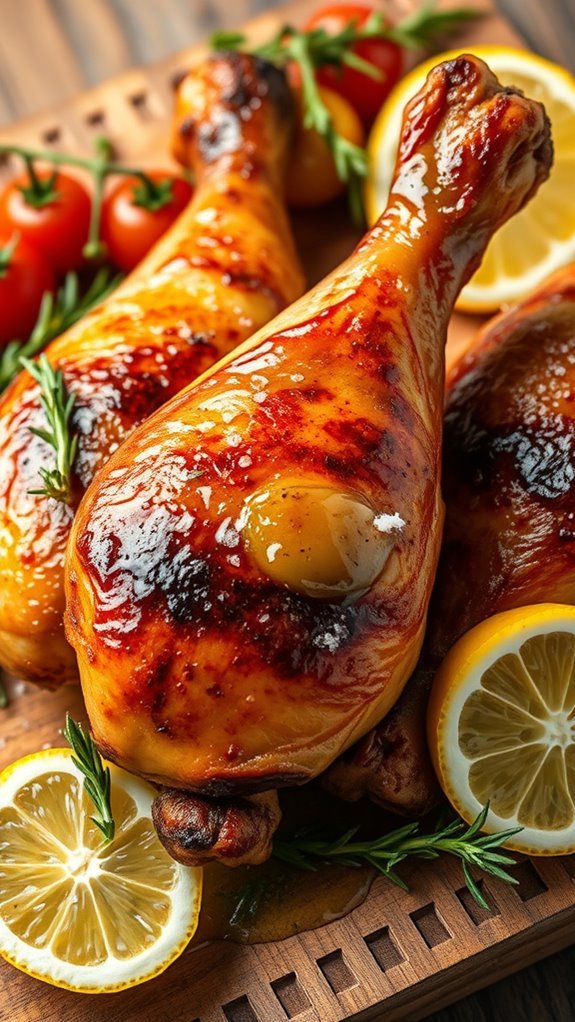
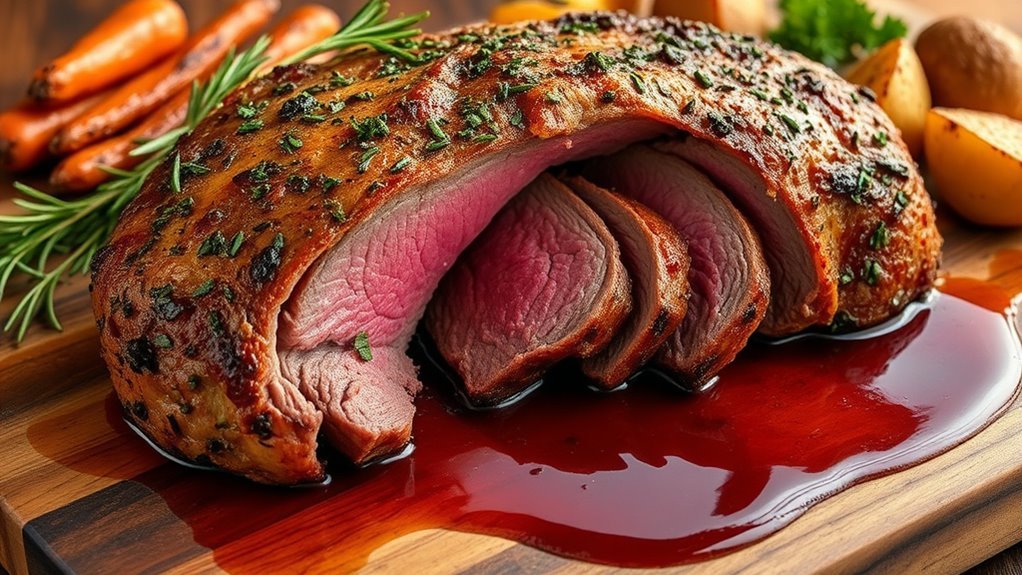
Lemon Rosemary Bone-In Pork Chops
Lemon rosemary bone-in pork chops are a delightful and flavorful dish that brings a bright and aromatic twist to your dinner table. The combination of zesty lemon and fragrant rosemary improves the natural richness of the pork, creating a meal that’s both savory and invigorating. This recipe is simple yet elegant, making it perfect for both weeknight dinners and special occasions.
Serve these pork chops with a side of roasted vegetables or a fresh salad for a complete meal that will impress your family and friends.
Ingredients:
- 4 bone-in pork chops (about 1-inch thick)
- 2 tablespoons olive oil
- 2 tablespoons fresh lemon juice
- Zest of 1 lemon
- 3 cloves garlic, minced
- 2 tablespoons fresh rosemary, chopped
- Salt and pepper to taste
- Lemon slices for garnish (optional)
Cooking Instructions:
Begin by preheating your oven to 400°F (200°C). In a small bowl, whisk together the olive oil, lemon juice, lemon zest, minced garlic, chopped rosemary, salt, and pepper.
Pat the pork chops dry with paper towels and season both sides generously with salt and pepper. Heat a large oven-safe skillet over medium-high heat and add a drizzle of olive oil. Once the oil is hot, add the pork chops and sear them for about 3-4 minutes on each side until they develop a nice golden-brown crust.
Pour the lemon-rosemary mixture over the pork chops, guaranteeing they’re well coated. Transfer the skillet to the preheated oven and roast for about 10-15 minutes, or until the internal temperature of the pork reaches 145°F (63°C).
Remove from the oven and let the chops rest for a few minutes before serving, garnished with lemon slices if desired.
Extra Tips:
For the best flavor, consider marinating the pork chops in the lemon-rosemary mixture for at least 30 minutes, or even overnight in the refrigerator. This will allow the flavors to penetrate the meat more deeply.
When cooking, use a meat thermometer to confirm the pork is cooked to the perfect temperature without drying it out. If you prefer a bit of extra flavor, you can also add a splash of white wine to the skillet before transferring it to the oven, which will create a delicious sauce to drizzle over the pork chops.
Enjoy your meal!
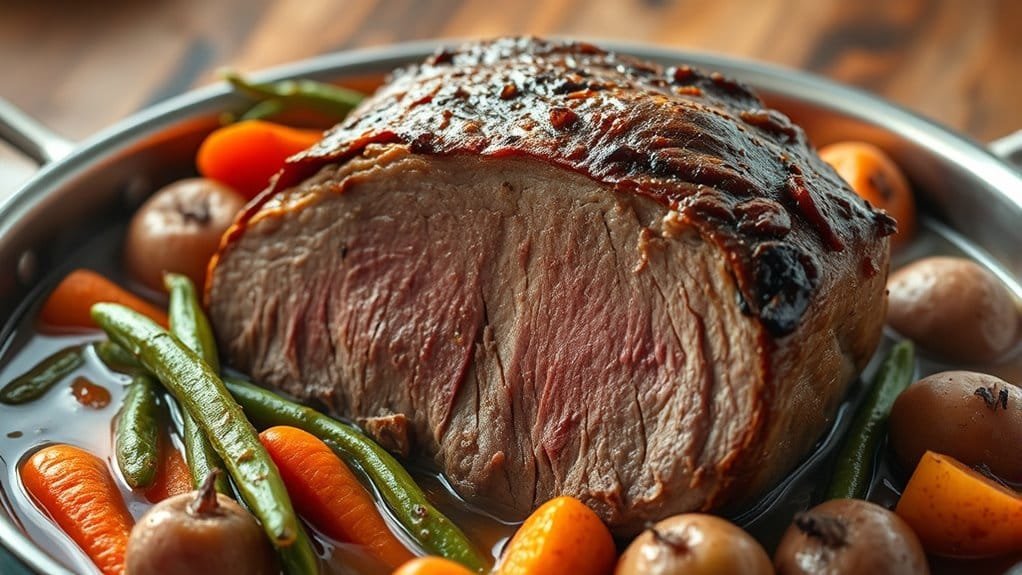
Apple Cider Brined Bone-In Pork Chops

Apple Cider Brined Bone-In Pork Chops are a delicious way to infuse rich flavor and moisture into your pork chops. The apple cider brine not only tenderizes the meat but also imparts a delightful sweetness that pairs beautifully with the savory notes of the pork.
This recipe is perfect for a family dinner or a gathering with friends, and it’s easy to prepare ahead of time, allowing you to enjoy more time with your guests.
Ingredients:
- 4 bone-in pork chops (about 1 inch thick)
- 2 cups apple cider
- 1/4 cup kosher salt
- 1/4 cup brown sugar
- 1 tablespoon black peppercorns
- 2 sprigs fresh rosemary
- 4 cloves garlic, smashed
- 1 teaspoon crushed red pepper flakes (optional)
- Olive oil for grilling
Instructions:
In a medium bowl, combine the apple cider, kosher salt, brown sugar, black peppercorns, rosemary, garlic, and crushed red pepper flakes (if using). Stir until the salt and sugar are fully dissolved.
Place the pork chops in a resealable plastic bag or a shallow dish and pour the brine over them, ensuring they’re fully submerged. Seal the bag or cover the dish and refrigerate for at least 2 hours, preferably overnight.
When ready to cook, remove the pork chops from the brine, pat them dry with paper towels, and let them come to room temperature for about 30 minutes. Preheat a grill or grill pan over medium-high heat, brush the chops with olive oil, and grill for about 6-7 minutes per side or until they reach an internal temperature of 145°F.
Allow the chops to rest for 5 minutes before serving.
Extra Tips:
For the best results, keep an eye on the brining time; brining for too long can lead to overly salty chops. If you’re short on time, even a quick 30-minute brine can improve the flavor.
Additionally, feel free to experiment with the spices and herbs in the brine to suit your taste. Pair the pork chops with sautéed greens or roasted vegetables for a well-rounded meal, and don’t forget to drizzle some of the leftover apple cider reduction over the chops for an extra layer of flavor!
Teriyaki Bone-In Pork Chops

Teriyaki Bone-In Pork Chops are a delicious and flavorful dish that combines the savory richness of pork with the sweet and tangy notes of teriyaki sauce. This easy-to-follow recipe will guide you through marinating the chops to achieve a perfect balance of flavors, then grilling or pan-searing them until they’re beautifully caramelized. Serve these pork chops with steamed rice and vegetables for a complete meal that will impress your family and friends.
Ingredients:
- 4 bone-in pork chops
- 1/2 cup teriyaki sauce
- 2 tablespoons soy sauce
- 2 tablespoons honey
- 2 cloves garlic, minced
- 1 tablespoon fresh ginger, grated
- 1 tablespoon sesame oil
- 1 tablespoon green onions, chopped (for garnish)
- Sesame seeds (for garnish)
Instructions:
In a mixing bowl, combine the teriyaki sauce, soy sauce, honey, garlic, ginger, and sesame oil to create the marinade.
Place the pork chops in a resealable bag or a shallow dish, and pour the marinade over them, ensuring they’re well-coated. Marinate in the refrigerator for at least 30 minutes, or up to 4 hours for deeper flavor.
Preheat your grill or skillet over medium-high heat. Remove the pork chops from the marinade, reserving the marinade for later use.
Grill or sear the chops for about 6-7 minutes per side, or until they reach an internal temperature of 145°F (63°C). Brush with the reserved marinade during the last few minutes of cooking for extra flavor.
Once done, let the chops rest for a few minutes before serving. Garnish with chopped green onions and sesame seeds.
Extra Tips:
For even juicier pork chops, consider brining them in a saltwater solution for a couple of hours before marinating. This will improve their moisture content.
Additionally, if you prefer a thicker glaze, simmer the reserved marinade in a saucepan until it thickens before brushing it onto the chops.
For a smoky flavor, try adding a few drops of liquid smoke to the marinade. Always allow your pork chops to rest after cooking to retain their juices, and serve with sides that complement the teriyaki flavor, such as stir-fried vegetables or coconut rice.
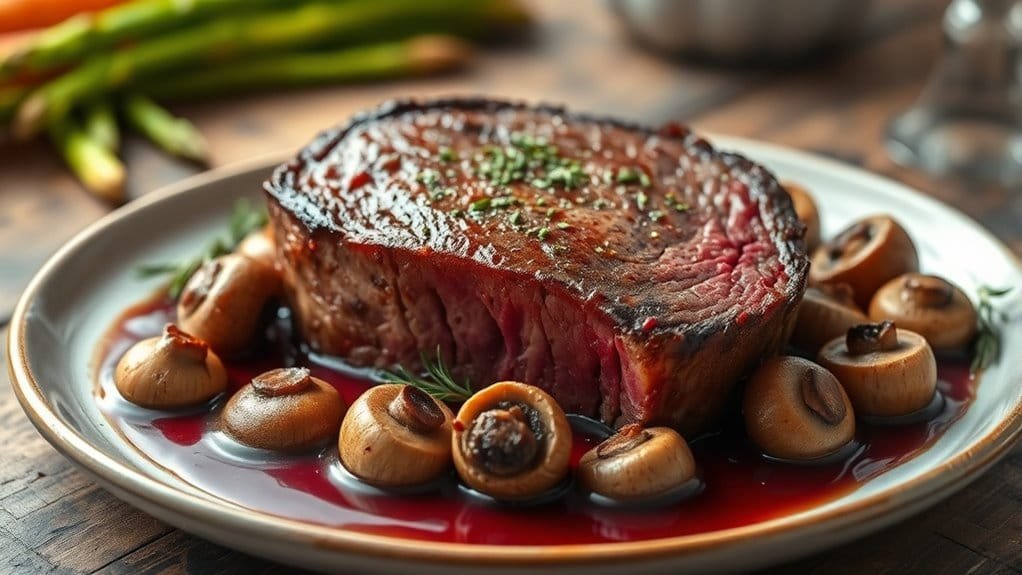
Mushroom and Thyme Bone-In Pork Chops
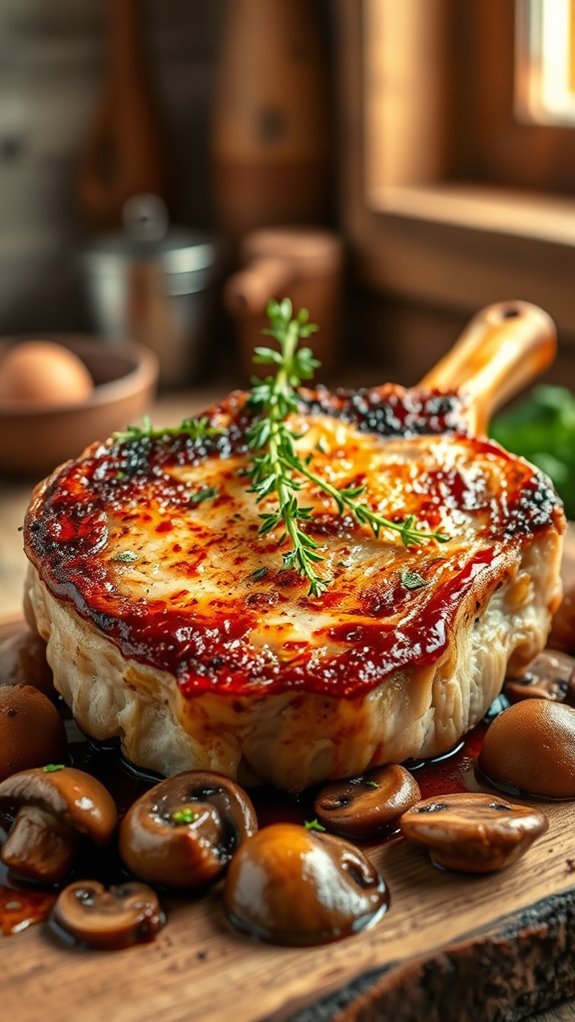
Mushroom and thyme bone-in pork chops are a delightful and hearty dish that combines the rich flavor of the pork with the earthiness of mushrooms and the aromatic notes of fresh thyme. This recipe is perfect for a cozy family dinner or an impressive meal for guests.
With simple ingredients and straightforward cooking techniques, you can create a mouthwatering dish that’s bound to please everyone at the table.
Ingredients:
- 4 bone-in pork chops (about 1-inch thick)
- Salt and pepper, to taste
- 2 tablespoons olive oil
- 8 ounces mushrooms, sliced (cremini or button)
- 2 cloves garlic, minced
- 1 teaspoon fresh thyme leaves (or 1/3 teaspoon dried thyme)
- 1/2 cup chicken broth
- 2 tablespoons butter
- Fresh thyme sprigs, for garnish (optional)
Instructions:
Season the pork chops generously with salt and pepper on both sides. In a large skillet, heat the olive oil over medium-high heat. Once hot, add the pork chops and sear them for about 4-5 minutes on each side, or until they develop a golden-brown crust.
Remove the chops from the skillet and set aside. In the same skillet, add the sliced mushrooms and cook for about 5 minutes until they become tender. Stir in the minced garlic and thyme, cooking for an additional minute until fragrant.
Pour in the chicken broth, scraping the bottom of the skillet to deglaze it, and return the pork chops to the skillet. Cover and simmer for about 10-15 minutes, or until the pork chops reach an internal temperature of 145°F.
Finish with butter for added richness, and serve garnished with fresh thyme sprigs if desired.
Extra Tips:
For the best results, allow your pork chops to rest at room temperature for about 30 minutes before cooking; this helps them cook more evenly.
Using a meat thermometer ascertains that the pork is perfectly cooked without being dry. If you prefer a thicker sauce, you can remove the pork chops after cooking and let the mushroom mixture simmer on low heat until it reduces to your desired consistency.
Pair the dish with mashed potatoes or a side of steamed vegetables for a complete meal.
Smoked Paprika Bone-In Pork Chops
Smoked paprika bone-in pork chops are a delicious and flavorful dish that brings a smoky depth to the meat while keeping it juicy and tender. This recipe is perfect for a weeknight dinner or a special occasion, as the combination of spices and simple preparation will impress your family and friends.
The smoked paprika adds a rich, earthy flavor that pairs wonderfully with the natural savoriness of the pork chops, making it a standout meal that’s both easy to prepare and delightful to eat.
Ingredients:
- 4 bone-in pork chops (about 1 inch thick)
- 2 tablespoons smoked paprika
- 1 tablespoon garlic powder
- 1 teaspoon onion powder
- 1 teaspoon salt
- 1/2 teaspoon black pepper
- 2 tablespoons olive oil
- 1 tablespoon fresh lemon juice
- Fresh parsley for garnish (optional)
Instructions:
In a small bowl, combine the smoked paprika, garlic powder, onion powder, salt, and black pepper to create a spice rub.
Pat the pork chops dry with paper towels, then rub the spice mixture evenly over both sides of each chop.
In a large skillet, heat the olive oil over medium-high heat. Once hot, add the pork chops and sear for about 4-5 minutes on each side until they’re golden brown and cooked through, reaching an internal temperature of 145°F.
Remove the chops from the skillet, drizzle with fresh lemon juice, and let them rest for 5 minutes before serving.
Extra Tips:
For the best results, allow the pork chops to come to room temperature for about 30 minutes before cooking, as this will help them cook more evenly.
Additionally, if you prefer a bit more smokiness, consider adding a touch of cayenne pepper to the spice rub.
For a complete meal, serve the smoked paprika pork chops with roasted vegetables or a fresh salad.
Don’t forget to rest the meat after cooking; this will help retain the juices for a more succulent bite!
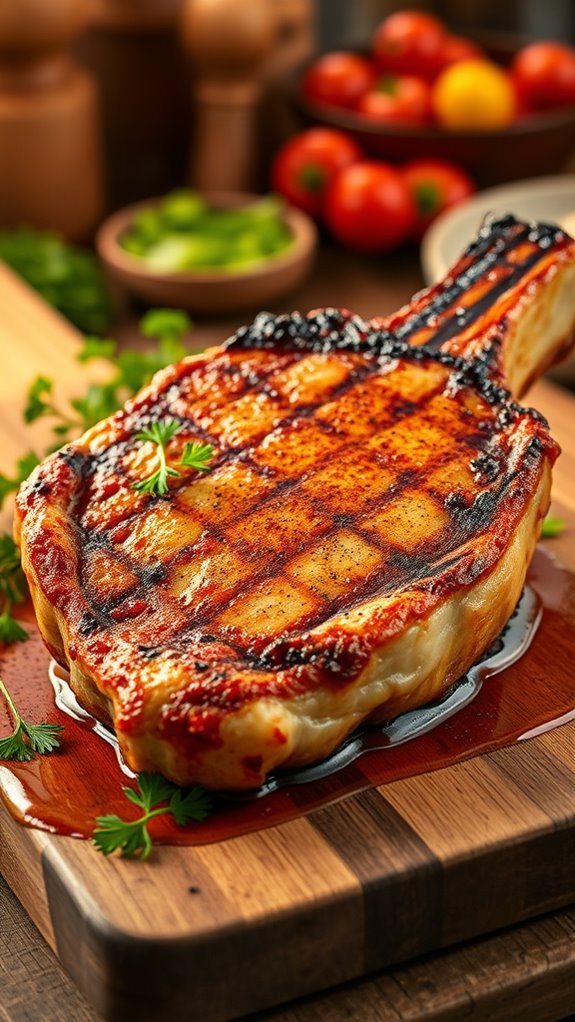
Balsamic Glazed Bone-In Pork Chops

Balsamic Glazed Bone-In Pork Chops are a delicious and elegant dish that’s perfect for a weeknight dinner or a special occasion. The combination of savory pork chops and the sweet, tangy balsamic glaze creates a mouthwatering flavor profile that will impress your family and friends. With just a few simple ingredients, you can raise your meal to a new level of deliciousness.
Ingredients:
- 4 bone-in pork chops
- Salt and pepper, to taste
- 2 tablespoons olive oil
- 1/2 cup balsamic vinegar
- 2 tablespoons honey
- 2 cloves garlic, minced
- 1 teaspoon fresh rosemary, chopped (or 1/2 teaspoon dried rosemary)
- 1 tablespoon Dijon mustard
- Fresh parsley, chopped (for garnish)
Cooking Instructions:
Start by seasoning the pork chops generously with salt and pepper on both sides.
Heat the olive oil in a large skillet over medium-high heat. Once hot, add the pork chops and sear them for about 4-5 minutes on each side until they develop a nice golden-brown crust.
In a separate bowl, whisk together the balsamic vinegar, honey, minced garlic, rosemary, and Dijon mustard. Pour this mixture over the pork chops in the skillet, reduce the heat to medium-low, and let the chops simmer in the glaze for about 10-15 minutes, or until they reach an internal temperature of 145°F (63°C).
Remove the chops from the skillet and allow them to rest for a few minutes before serving, spooning the balsamic glaze over the top.
Extra Tips:
For the best flavor, consider marinating the pork chops in the balsamic mixture for a few hours or overnight before cooking. This will improve the flavor and tenderness of the meat.
Additionally, if you prefer a thicker glaze, you can remove the pork chops after cooking and allow the glaze to simmer for a few more minutes until it reduces to your desired consistency.
Serve the pork chops with a side of roasted vegetables or mashed potatoes to soak up the delicious balsamic glaze. Enjoy!