Tartar sauce is a game-changer for seafood lovers, and there’s so much more to it than just the classic version. Imagine a zesty Lemon-Dill or a bold Spicy Chipotle bringing your fish to life! With options like Avocado Tartar Sauce and even vegan varieties, everyone can join in on the fun. Want to know which recipe will become your new favorite? Let’s explore these delicious options and discover what makes each one unique!
Classic Tartar Sauce
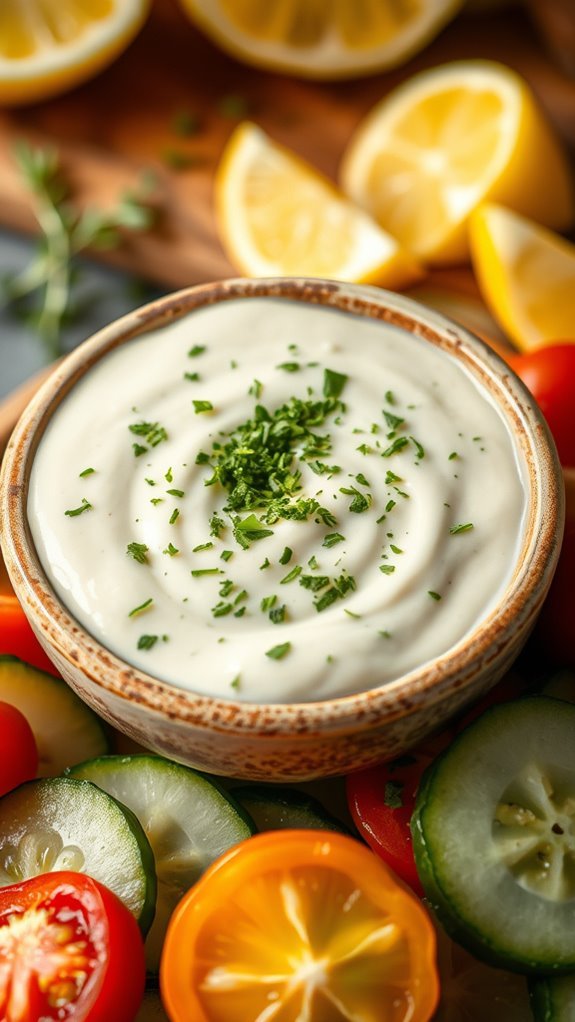
Classic tartar sauce is a creamy and tangy condiment that pairs perfectly with seafood dishes, particularly fried fish, shrimp, and crab cakes. This simple yet flavorful sauce can be whipped up in just a few minutes using pantry staples.
With its blend of mayonnaise, pickles, and seasonings, classic tartar sauce adds a delightful zesty kick to your meals and can be easily customized to suit your taste preferences.
Ingredients:
- 1 cup mayonnaise
- 2 tablespoons dill pickles, finely chopped
- 1 tablespoon capers, rinsed and chopped
- 1 tablespoon fresh lemon juice
- 1 teaspoon Dijon mustard
- 1 teaspoon Worcestershire sauce
- Salt and black pepper, to taste
- Fresh parsley, chopped (optional, for garnish)
Instructions:
In a medium bowl, combine mayonnaise, chopped dill pickles, capers, lemon juice, Dijon mustard, and Worcestershire sauce.
Mix all the ingredients together until well combined and smooth.
Taste the sauce and season with salt and black pepper to your liking.
If you prefer a chunkier texture, you can adjust the amount of pickles and capers.
For added freshness, fold in some chopped parsley before serving.
Cover the bowl with plastic wrap and refrigerate for at least 30 minutes to let the flavors meld together.
Extra Tips:
To improve the flavor of your classic tartar sauce, consider adding a splash of hot sauce or a pinch of cayenne pepper for some heat.
You can also experiment with different types of pickles, such as sweet or bread-and-butter pickles, to create a unique twist.
For a healthier version, substitute half of the mayonnaise with Greek yogurt.
Spicy Chipotle Tartar Sauce

Spicy Chipotle Tartar Sauce is a zesty twist on the classic condiment, perfect for enhancing fried seafood, sandwiches, and even veggie dishes. This flavorful sauce combines the creaminess of mayonnaise with the smoky heat of chipotle peppers, offering a delightful kick that boosts any meal.
Whether you’re hosting a seafood feast or simply want to add a bold flavor to your plate, this spicy tartar sauce is quick and easy to make, ensuring you’ll have a delicious accompaniment ready in no time.
Ingredients:
- 1 cup mayonnaise
- 2 tablespoons Dijon mustard
- 1-2 chipotle peppers in adobo sauce, finely chopped
- 1 tablespoon adobo sauce (from the chipotle can)
- 1 tablespoon fresh lime juice
- 1 tablespoon capers, drained and chopped
- 1 tablespoon fresh parsley, chopped
- Salt and pepper to taste
Instructions:
In a medium bowl, combine the mayonnaise, Dijon mustard, chopped chipotle peppers, adobo sauce, and lime juice. Stir until well blended, then fold in the chopped capers and parsley.
Season with salt and pepper to taste, adjusting the spiciness by adding more chipotle if desired. Cover the bowl with plastic wrap and refrigerate for at least 30 minutes to allow the flavors to meld together.
Extra Tips:
For an even richer flavor, consider using homemade mayonnaise instead of store-bought. If you prefer a milder sauce, start with just one chipotle pepper and taste before adding more.
This sauce can be stored in an airtight container in the refrigerator for up to one week, making it a great option for meal prep or for serving at gatherings.
Feel free to experiment with additional herbs or spices, such as dill or garlic powder, to customize the taste to your liking!
Herb-Infused Tartar Sauce
Herb-infused tartar sauce is a delightful twist on the classic condiment, improving your seafood dishes with a burst of fresh flavor. This recipe combines the richness of mayonnaise with the vibrant tastes of fresh herbs, offering a zesty accompaniment to fried fish, crab cakes, or even as a spread for sandwiches.
The blend of ingredients not only enhances the sauce’s flavor but also adds a touch of elegance, making it a perfect addition to any meal.
Ingredients:
- 1 cup mayonnaise
- 2 tablespoons finely chopped fresh parsley
- 1 tablespoon finely chopped fresh dill
- 1 tablespoon finely chopped fresh chives
- 1 tablespoon lemon juice
- 1 teaspoon Dijon mustard
- Salt and pepper to taste
Instructions:
In a medium bowl, combine the mayonnaise, fresh parsley, dill, chives, lemon juice, and Dijon mustard.
Mix the ingredients well until they’re evenly combined.
Season the tartar sauce with salt and pepper to taste, adjusting the flavors as desired.
For the best results, cover the bowl with plastic wrap and let the sauce chill in the refrigerator for at least 30 minutes to allow the flavors to meld together.
Extra Tips:
For an even more flavorful tartar sauce, consider adding a teaspoon of minced garlic or a dash of hot sauce for a bit of heat.
If you prefer a thicker consistency, use less mayonnaise or add a bit of finely diced pickles or capers.
This sauce can be stored in an airtight container in the refrigerator for up to a week, making it a great make-ahead option for gatherings or busy weeknight dinners.
Lemon-Dill Tartar Sauce

Lemon-Dill Tartar Sauce is a revitalizing twist on the classic condiment that pairs beautifully with seafood dishes. The bright notes of lemon and the aromatic touch of fresh dill create a zesty flavor profile that enhances everything from fish and chips to crab cakes.
This simple yet delightful sauce is easy to whip up and makes a wonderful addition to your culinary repertoire.
Ingredients:
- 1 cup mayonnaise
- 2 tablespoons fresh lemon juice
- 1 tablespoon lemon zest
- 2 tablespoons fresh dill, chopped
- 1 tablespoon capers, rinsed and chopped
- 1 teaspoon Dijon mustard
- Salt and pepper to taste
Instructions:
In a medium bowl, combine the mayonnaise, fresh lemon juice, and lemon zest, stirring until well mixed.
Next, add the chopped dill, capers, and Dijon mustard to the bowl, continuing to stir until all ingredients are fully incorporated.
Season with salt and pepper to taste. For the best flavor, cover the bowl with plastic wrap and let the tartar sauce sit in the refrigerator for at least 30 minutes before serving, allowing the flavors to meld together.
Extra Tips:
For an even more vibrant flavor, consider adding a dash of hot sauce or a pinch of cayenne pepper to give your tartar sauce a little kick.
If you prefer a creamier texture, you can substitute half of the mayonnaise with sour cream or Greek yogurt.
Fresh dill is preferable, but if you only have dried dill on hand, use about one-third of the amount, as dried herbs are more concentrated.
This tartar sauce can be stored in an airtight container in the fridge for up to a week, making it a convenient option for meal prep.
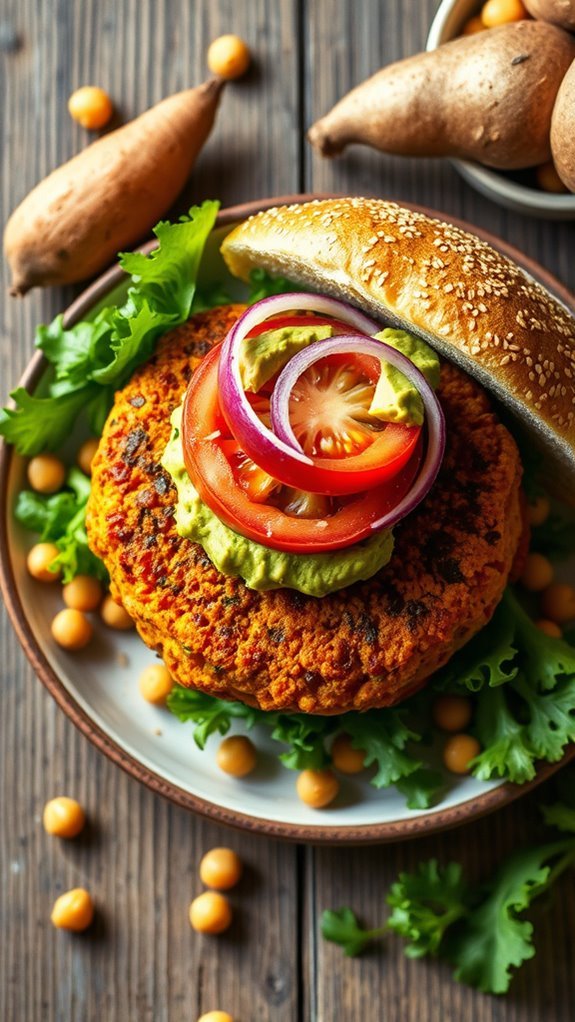
Avocado Tartar Sauce
Avocado tartar sauce is a creamy and zesty twist on the classic condiment, perfect for adding a fresh flavor to seafood dishes, sandwiches, or even as a dip for veggies.
The smooth texture of ripe avocados combined with the tang of lime juice and the crunch of diced vegetables creates a deliciously unique sauce that can enhance any meal. This simple recipe is quick to prepare and can be customized to suit your taste preferences, making it a versatile addition to your culinary repertoire.
Ingredients:
- 1 ripe avocado
- 1 tablespoon lime juice
- 1 tablespoon Dijon mustard
- 1/4 cup finely chopped red onion
- 1/4 cup finely chopped dill pickles
- 1 tablespoon chopped fresh parsley
- Salt and pepper to taste
Instructions:
Begin by cutting the ripe avocado in half, removing the pit, and scooping the flesh into a mixing bowl.
Add the lime juice and Dijon mustard, then mash the avocado with a fork until it reaches a creamy consistency.
Next, fold in the finely chopped red onion, dill pickles, and parsley, mixing until well combined.
Season the mixture with salt and pepper to taste, adjusting the flavors to your liking.
Extra Tips:
For a little extra kick, consider adding a dash of hot sauce or a pinch of cayenne pepper to the avocado tartar sauce.
If you prefer a chunkier texture, you can leave some avocado pieces intact instead of mashing them completely.
This sauce can be stored in an airtight container in the refrigerator for up to two days, but it’s best served fresh to enjoy the vibrant flavors.
Additionally, feel free to experiment with other herbs like cilantro or chives for a different flavor profile!
Garlic Aioli Tartar Sauce
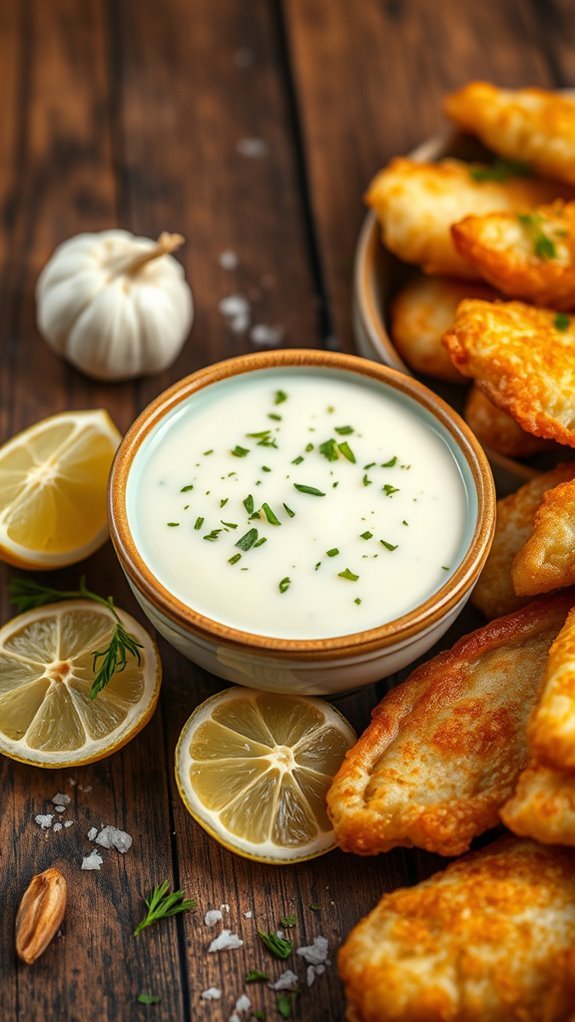
Garlic Aioli Tartar Sauce is a delightful twist on the classic tartar sauce, adding a rich garlic flavor that improves seafood dishes beautifully. This creamy condiment is perfect for dipping fried fish, crab cakes, or even as a spread for sandwiches.
With a few simple ingredients, you can whip up this flavorful sauce in no time, making it a fantastic addition to your culinary repertoire.
Ingredients:
- 1 cup mayonnaise
- 1 tablespoon Dijon mustard
- 2 tablespoons fresh lemon juice
- 2 cloves garlic, minced
- 1 tablespoon capers, rinsed and chopped
- 1 tablespoon fresh parsley, chopped
- Salt and pepper to taste
Instructions:
In a mixing bowl, combine the mayonnaise, Dijon mustard, lemon juice, minced garlic, chopped capers, and fresh parsley.
Stir until all the ingredients are well blended and the mixture is smooth.
Taste the sauce and season it with salt and pepper according to your preference.
Once seasoned, cover the bowl and refrigerate for at least 30 minutes to allow the flavors to meld together before serving.
Extra Tips:
For an extra layer of flavor, consider adding a pinch of smoked paprika or a dash of hot sauce to the mixture.
You can also experiment with different herbs, such as dill or chives, to customize the sauce to your taste.
Make sure to use fresh garlic for the best flavor, and always taste your sauce before serving to adjust the seasoning if needed.
This Garlic Aioli Tartar Sauce can be stored in an airtight container in the refrigerator for up to a week, making it a convenient option for quick meals.
Caper and Olive Tartar Sauce
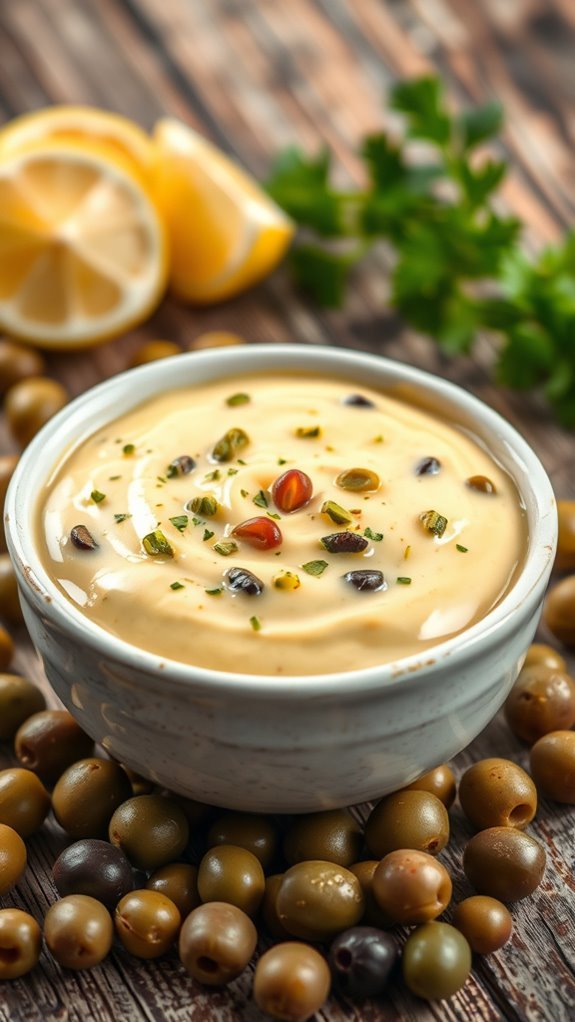
Caper and Olive Tartar Sauce is a delightful twist on the classic condiment, perfect for enhancing your seafood dishes or serving as a zesty dip for vegetables and appetizers.
With its vibrant flavors from briny capers and tangy olives, this tartar sauce is quick to prepare and adds a gourmet touch to any meal. Whether you’re enjoying it with fried fish, shrimp, or even spreading it on a sandwich, this recipe is sure to impress.
Ingredients:
- 1 cup mayonnaise
- 2 tablespoons capers, drained and chopped
- 2 tablespoons green olives, pitted and chopped
- 1 tablespoon fresh lemon juice
- 1 tablespoon fresh parsley, chopped
- 1 teaspoon Dijon mustard
- Salt and pepper to taste
Instructions:
In a medium bowl, combine the mayonnaise, chopped capers, chopped olives, lemon juice, parsley, and Dijon mustard.
Mix well until all ingredients are evenly incorporated. Taste and season with salt and pepper as desired.
Once mixed, cover the bowl with plastic wrap and refrigerate for at least 30 minutes to allow the flavors to meld together.
Serve chilled alongside your favorite seafood dishes or as a dipping sauce.
Extra Tips:
For a bolder flavor, consider adding minced garlic or chopped shallots to the tartar sauce.
Feel free to experiment with different types of olives, such as Kalamata or Castelvetrano, to create a unique flavor profile.
This sauce can be stored in the refrigerator for up to one week, making it a great make-ahead option for entertaining.
Always taste the sauce before serving to adjust the seasoning to your preference.
Sweet and Spicy Tartar Sauce

Sweet and spicy tartar sauce is a delightful twist on the classic condiment, perfect for enhancing seafood dishes or even serving as a dip for vegetables. This sauce combines the creamy texture of traditional tartar sauce with a hint of sweetness and a kick of spice, making it an exciting addition to your culinary repertoire.
Whether you’re serving it with fish and chips, crab cakes, or as a flavorful dip, this sweet and spicy tartar sauce will boost any meal.
Ingredients:
- 1 cup mayonnaise
- 2 tablespoons sweet relish
- 1 tablespoon Dijon mustard
- 1 tablespoon honey
- 1 teaspoon sriracha (adjust to taste)
- 1 teaspoon lemon juice
- Salt and pepper to taste
- Chopped fresh parsley (for garnish, optional)
For the cooking instructions, combine the mayonnaise, sweet relish, Dijon mustard, honey, sriracha, and lemon juice in a medium bowl. Stir the ingredients together until they’re well blended and the mixture is smooth.
Taste and adjust the seasoning with salt and pepper as desired. If you prefer a spicier kick, feel free to add more sriracha. Once mixed, transfer the sauce to a small serving bowl and garnish with chopped fresh parsley if you like.
When preparing this sweet and spicy tartar sauce, it’s essential to taste as you go, allowing you to customize the sweetness and spiciness to your preference.
For a thicker sauce, consider using a higher-fat mayonnaise or even a combination of mayonnaise and Greek yogurt for added creaminess and a tangy flavor. This sauce can be made ahead of time and stored in the refrigerator for up to a week, allowing the flavors to meld beautifully.
Enjoy experimenting with different spices or herbs to make this tartar sauce your own!
Vegan Tartar Sauce
Vegan tartar sauce is a delicious and creamy condiment that pairs perfectly with everything from crispy vegetables to plant-based seafood alternatives. Made without any animal products, this sauce isn’t only easy to whip up but is also packed with flavor.
With a blend of tangy pickles and zesty seasonings, it’s a fantastic addition to any meal or as a dip for your favorite snacks.
Ingredients:
- 1 cup vegan mayo
- 2 tablespoons dill pickles, finely chopped
- 1 tablespoon capers, rinsed and chopped
- 1 tablespoon fresh lemon juice
- 1 teaspoon Dijon mustard
- 1 teaspoon dried dill
- Salt and pepper to taste
Instructions:
In a mixing bowl, combine the vegan mayo, finely chopped dill pickles, chopped capers, lemon juice, Dijon mustard, and dried dill.
Stir until all ingredients are well incorporated and the sauce is smooth. Adjust the seasoning with salt and pepper to taste.
For best results, let the tartar sauce sit in the refrigerator for at least 30 minutes before serving to allow the flavors to meld together.
Extra Tips:
Feel free to customize your vegan tartar sauce by adding a dash of hot sauce for a spicy kick or incorporating fresh herbs like parsley or chives for added freshness.
If you prefer a chunkier texture, you can leave some of the pickles and capers coarsely chopped.
This sauce can be stored in an airtight container in the refrigerator for up to one week, making it a great make-ahead option for your meals.
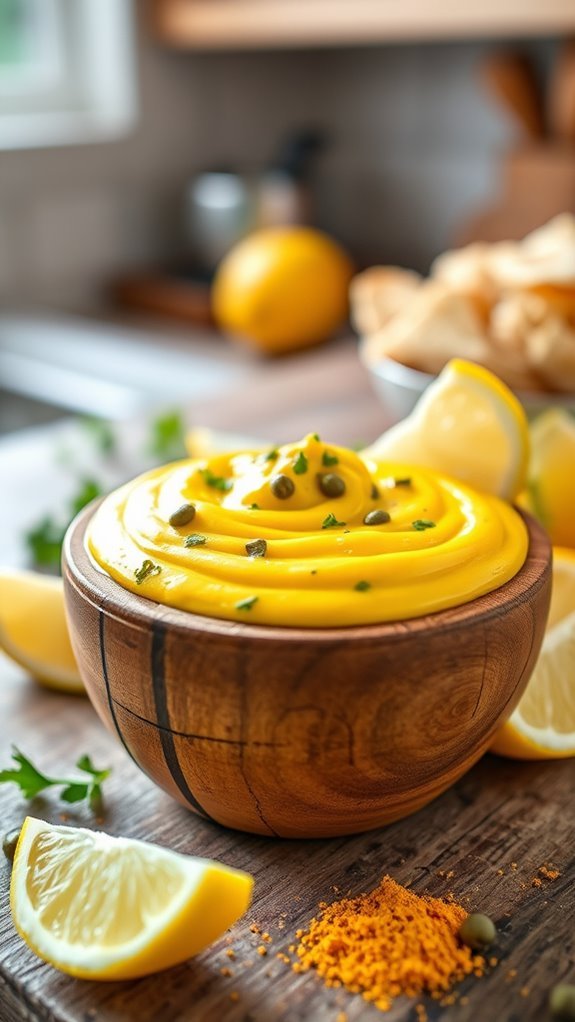
Curry-Flavored Tartar Sauce
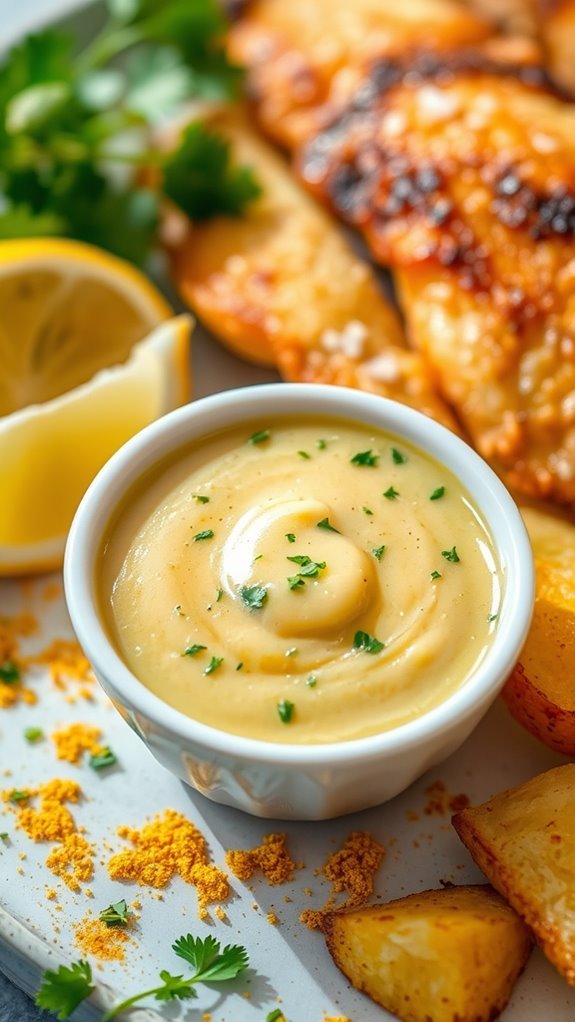
Curry-flavored tartar sauce is a delightful twist on the classic condiment, bringing a warm and aromatic spice profile that pairs wonderfully with seafood, fried vegetables, or even as a sandwich spread.
This easy-to-make sauce combines the creaminess of mayonnaise with the pungent flavors of curry powder, creating a zesty addition to your meals. Whether you’re serving it alongside fish and chips or using it as a dip for crispy appetizers, this curry tartar sauce is sure to enhance your dining experience.
Ingredients:
- 1 cup mayonnaise
- 1 tablespoon curry powder
- 1 tablespoon lemon juice
- 1 tablespoon chopped fresh parsley
- 1 teaspoon Dijon mustard
- 1 teaspoon capers, chopped
- Salt and pepper to taste
Instructions:
In a medium bowl, combine the mayonnaise, curry powder, lemon juice, Dijon mustard, and chopped capers. Stir well until all ingredients are thoroughly mixed.
Next, fold in the chopped parsley and season with salt and pepper to your liking. Once everything is incorporated, let the sauce sit in the refrigerator for at least 30 minutes to allow the flavors to meld together for a more robust taste.
Extra Tips:
For a milder flavor, adjust the amount of curry powder according to your preference, as different brands can vary in intensity.
Additionally, feel free to experiment by adding other ingredients such as finely diced pickles or shallots for extra texture and flavor. This sauce can be stored in an airtight container in the refrigerator for up to a week, making it a convenient option to have on hand for quick meals.