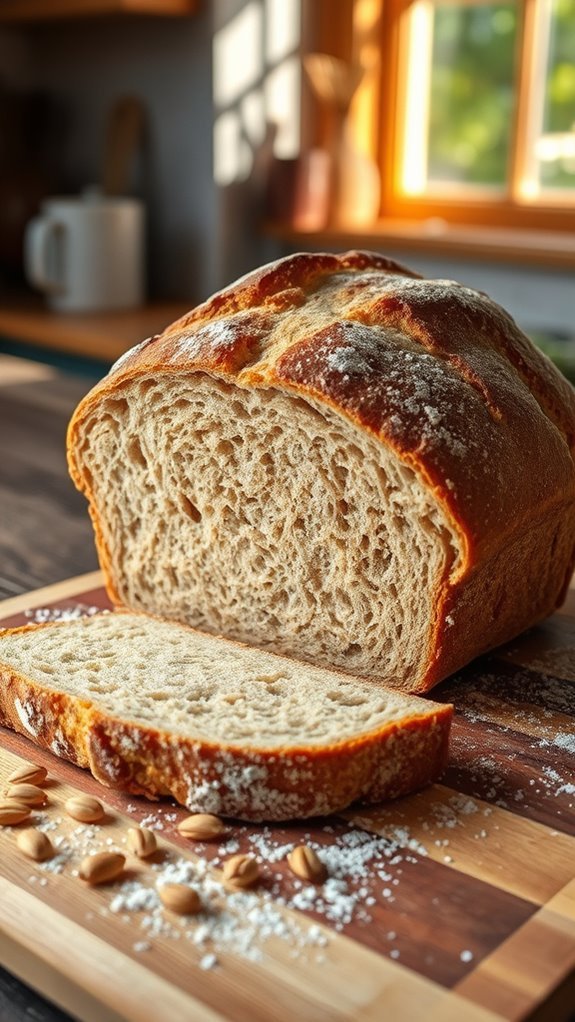
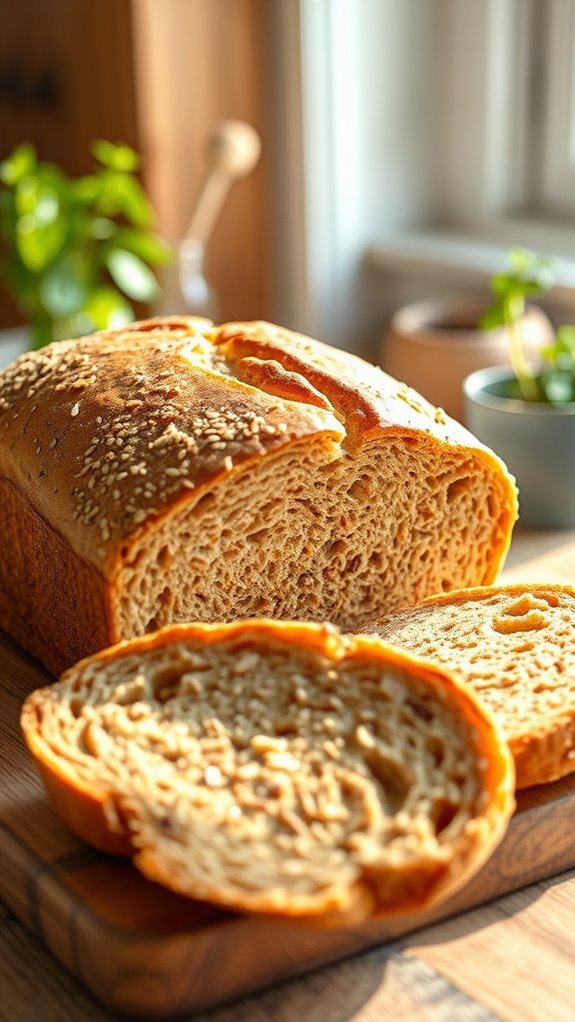
If you’re looking to spice up your meal prep, whole grain bread recipes are a game-changer. They’re not just delicious; they pack in nutrients that your body loves. Think classic whole wheat or hearty oatmeal, and maybe even a sweet whole grain banana bread for dessert! Each recipe brings its own flair, and trust me, you won’t want to miss out on trying these. So, what’s your favorite type of bread to bake?
Classic Whole Wheat Bread
Classic whole wheat bread is a wholesome and hearty option perfect for sandwiches, toast, or simply enjoying with a spread of butter or jam. Made with simple ingredients, this bread isn’t only nutritious but also incredibly satisfying to bake at home. The robust flavor of whole wheat flour combined with the right amount of yeast and warm water creates a delightful loaf that will fill your kitchen with an irresistible aroma.
Ingredients:
- 3 cups whole wheat flour
- 1 cup warm water (110°F)
- 2 tablespoons honey or sugar
- 2 tablespoons olive oil or melted butter
- 1 packet (2 1/4 teaspoons) active dry yeast
- 1 teaspoon salt
Instructions:
In a large mixing bowl, combine the warm water, honey or sugar, and yeast. Allow it to sit for about 5-10 minutes until it becomes frothy.
Next, add the olive oil and salt, followed by the whole wheat flour, one cup at a time, mixing until a dough forms. Knead the dough on a floured surface for about 10 minutes until it’s smooth and elastic.
Place the kneaded dough in a greased bowl, cover it with a clean cloth, and let it rise in a warm place for about 1 hour or until it has doubled in size.
After rising, punch down the dough, shape it into a loaf, and place it in a greased loaf pan. Let it rise again for about 30 minutes.
Preheat the oven to 350°F (175°C) and bake the bread for 30-35 minutes, or until the top is golden brown and sounds hollow when tapped. Allow it to cool before slicing.
Extra Tips:
For a richer flavor, consider adding seeds or nuts to the dough, such as sunflower seeds or walnuts.
Make sure to check the water temperature when activating the yeast; if it’s too hot, it can kill the yeast, while too cold won’t activate it properly.
If you prefer a softer crust, brush the top of the loaf with melted butter right after baking.
Store any leftover bread in an airtight container to keep it fresh longer, or freeze slices for convenient use later.
Oatmeal Bread

Oatmeal bread is a hearty and nutritious option that combines the wholesome goodness of whole grains with the comforting taste of bread. This recipe is perfect for breakfast, sandwiches, or simply enjoying with a pat of butter. The use of oats not only improves the flavor but also adds texture and a boost of fiber, making it a great choice for those looking to incorporate more whole grains into their diet.
Ingredients:
- 2 cups rolled oats
- 1 cup warm water
- 1 cup milk
- 2 tablespoons honey or maple syrup
- 1 tablespoon active dry yeast
- 1 teaspoon salt
- 2 cups whole wheat flour
- 1/2 cup all-purpose flour
- 2 tablespoons olive oil or melted butter
Cooking Instructions:
In a large mixing bowl, combine the rolled oats and warm water, letting them soak for about 10 minutes until the oats soften.
Next, stir in the milk, honey (or maple syrup), and active dry yeast, allowing the mixture to sit for another 5 minutes until it becomes frothy.
Gradually add the salt, whole wheat flour, and all-purpose flour, mixing until a dough forms. Knead the dough on a floured surface for about 5-7 minutes until it becomes smooth and elastic.
Place the dough in a greased bowl, cover it with a towel, and let it rise in a warm place for about 1 hour or until it doubles in size.
Once risen, punch down the dough, shape it into a loaf, and place it in a greased 9×5-inch loaf pan. Cover again and let it rise for an additional 30 minutes.
Preheat the oven to 350°F (175°C) and bake the bread for 30-35 minutes or until golden brown and sounds hollow when tapped.
Remove from the oven and let it cool before slicing.
Extra Tips:
For a richer flavor, consider adding mix-ins like chopped nuts, seeds, or dried fruits to the dough before the second rise.
If you prefer a softer crust, brush the top of the loaf with melted butter immediately after it comes out of the oven.
Store any leftover bread in an airtight container at room temperature for up to three days, or freeze it for longer storage.
Enjoy your homemade oatmeal bread fresh or toasted for a delightful treat!
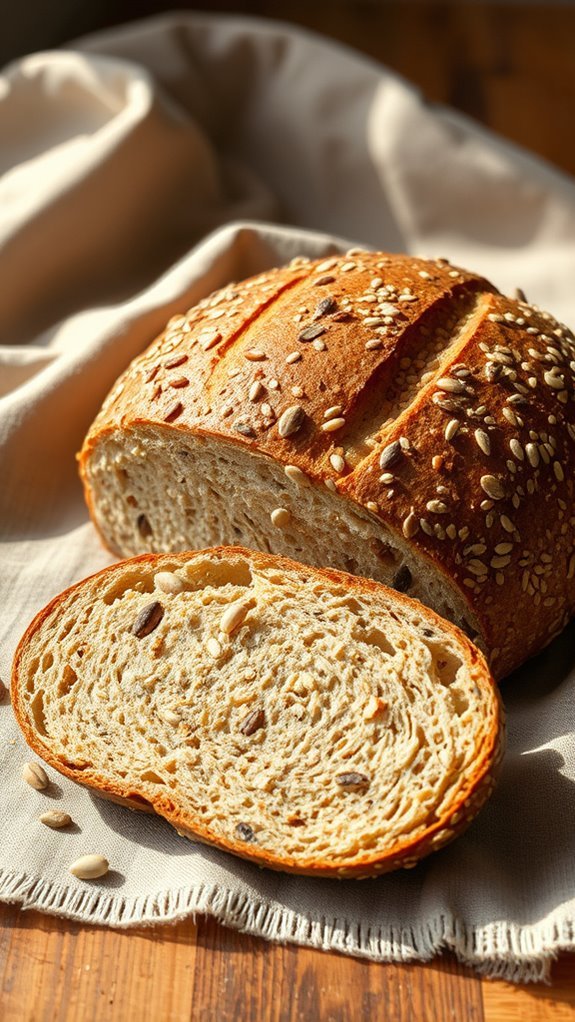
Multigrain Bread
Multigrain bread is a nutritious and hearty option that combines various grains and seeds, offering a delightful flavor and a plethora of health benefits. This bread is perfect for sandwiches, toast, or simply enjoyed on its own.
With its chewy texture and nutty taste, multigrain bread isn’t only satisfying but also a great way to incorporate whole grains into your diet. The following recipe is simple to follow and yields a delicious loaf that you can easily prepare at home.
Ingredients:
- 2 cups whole wheat flour
- 1 cup bread flour
- 1/2 cup rolled oats
- 1/4 cup sunflower seeds
- 1/4 cup flaxseeds
- 1/4 cup pumpkin seeds
- 2 tablespoons honey or maple syrup
- 1 tablespoon active dry yeast
- 1 1/2 teaspoons salt
- 1 1/2 cups warm water (about 110°F)
- 2 tablespoons olive oil
Instructions:
In a large mixing bowl, combine the warm water, honey or maple syrup, and active dry yeast. Let it sit for about 5-10 minutes until it becomes frothy.
Then, add the whole wheat flour, bread flour, salt, and olive oil. Mix well until a dough forms, and then knead the dough on a floured surface for about 8-10 minutes until smooth and elastic. Incorporate the rolled oats and seeds during the last few minutes of kneading.
Place the dough in a greased bowl, cover it with a damp cloth, and let it rise in a warm place for about 1-2 hours or until it has doubled in size.
Once risen, punch down the dough, shape it into a loaf, and place it in a greased loaf pan. Allow it to rise again for about 30-45 minutes before baking in a preheated oven at 375°F (190°C) for 30-35 minutes, or until the bread sounds hollow when tapped on the bottom.
Extra Tips:
For a more intense flavor, consider toasting the seeds before adding them to the dough.
You can also experiment with different grains and seeds such as quinoa or sesame to customize your multigrain bread. If you prefer a softer crust, cover the bread with a kitchen towel immediately after baking.
Store the bread in an airtight container to keep it fresh, and it can also be frozen for longer storage. Enjoy your homemade multigrain bread as part of a healthy meal!
Spelt Bread
Spelt bread is a nutritious and delicious alternative to traditional wheat bread, offering a slightly nutty flavor and a wholesome texture. This ancient grain is rich in fiber and protein, making it a fantastic choice for anyone looking to incorporate whole grains into their diet.
Baking spelt bread at home allows you to control the ingredients and enjoy the aroma of fresh bread wafting through your kitchen. Here’s a simple recipe to create your own spelt bread, perfect for sandwiches or toasting.
Ingredients:
- 3 cups spelt flour
- 1 cup warm water (110°F/45°C)
- 1 packet (2 ¼ teaspoons) active dry yeast
- 1 tablespoon honey or maple syrup
- 1 teaspoon salt
- 2 tablespoons olive oil
- Optional: seeds or nuts for topping
Instructions:
In a large mixing bowl, combine the warm water, honey, and yeast, allowing it to sit for about 5-10 minutes until it becomes foamy.
Next, add the spelt flour, salt, and olive oil to the mixture, stirring until a dough forms. Knead the dough on a lightly floured surface for about 8-10 minutes, or until it becomes smooth and elastic.
Place the dough in a greased bowl, cover it with a damp cloth, and let it rise in a warm place for about 1-1.5 hours, or until it doubles in size.
After the dough has risen, punch it down and shape it into a loaf. Place it in a greased loaf pan, cover, and let it rise again for about 30-45 minutes.
Preheat your oven to 375°F (190°C), then bake the bread for 30-35 minutes or until it sounds hollow when tapped on the bottom. Allow it to cool on a wire rack before slicing.
Extra Tips:
For an improved flavor and texture, consider adding seeds like sunflower or pumpkin seeds to the dough or sprinkling them on top before baking.
If you prefer a softer crust, you can cover the loaf with a kitchen towel as it cools. Additionally, feel free to experiment with different herbs and spices, such as rosemary or garlic powder, to give your spelt bread a unique twist.
Always remember that spelt flour absorbs moisture differently than regular flour, so adjust the liquid if needed to achieve the desired dough consistency. Enjoy your homemade spelt bread fresh or toasted!
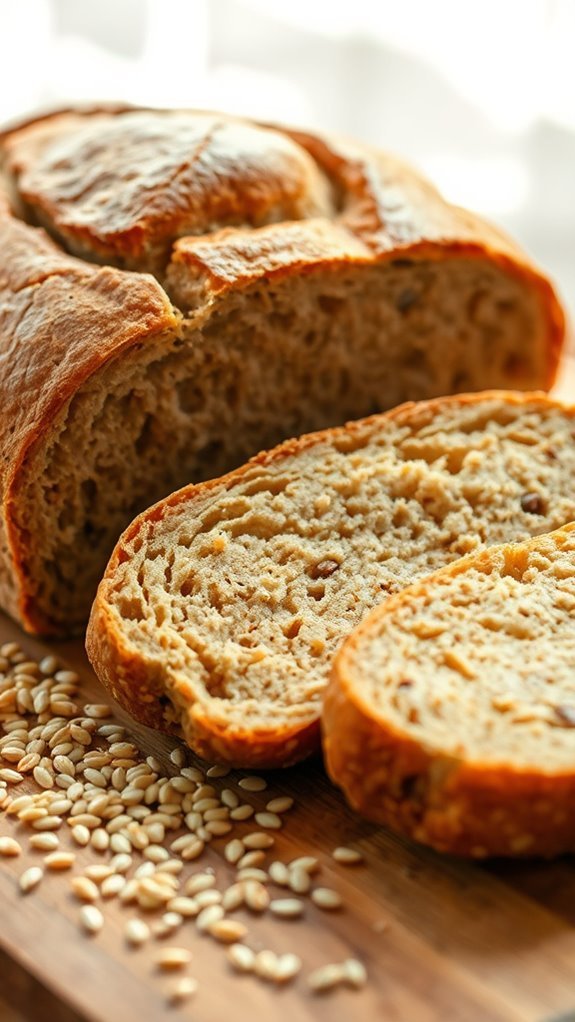
Rye Bread
Rye bread is a hearty and flavorful option that’s perfect for sandwiches, toasting, or simply enjoying with butter. Made primarily from rye flour, this bread has a distinct taste and denser texture compared to wheat bread.
Whether you’re looking to enhance your breakfast or create a satisfying lunch, this homemade rye bread will surely impress. With just a few simple ingredients and some patience, you can enjoy the wholesome goodness of freshly baked rye bread right from your own kitchen.
Ingredients:
- 2 cups rye flour
- 1 cup all-purpose flour
- 1 ½ teaspoons salt
- 1 tablespoon sugar
- 2 teaspoons instant yeast
- 1 ½ cups warm water (110°F/43°C)
- 2 tablespoons caraway seeds (optional)
- 1 tablespoon olive oil (for greasing)
Cooking Instructions:
In a large mixing bowl, combine the rye flour, all-purpose flour, salt, sugar, and instant yeast. Gradually pour in the warm water while stirring to form a sticky dough. If you’re using caraway seeds, mix them in at this point.
Knead the dough on a floured surface for about 10 minutes until it becomes smooth and elastic. Place the dough in a greased bowl, cover it with a damp cloth, and let it rise in a warm place for 1 to 2 hours, or until doubled in size.
Once risen, punch down the dough, shape it into a loaf, and place it in a greased loaf pan. Cover the pan and allow it to rise again for about 30 to 45 minutes. Preheat your oven to 375°F (190°C).
Bake the loaf for 30 to 35 minutes, or until it sounds hollow when tapped on the bottom. Cool the bread on a wire rack before slicing.
Extra Tips:
For a more intense flavor, consider using dark rye flour or adding a bit of molasses to the dough. If you prefer a crustier loaf, place a small pan of water in the oven while baking to create steam.
Be sure to let the bread cool completely before slicing to achieve cleaner cuts. Rye bread can also be stored in a bread bag or wrapped tightly in plastic wrap for freshness, or it can be frozen for future use. Enjoy your delicious homemade rye bread!
Honey Whole Grain Bread
Honey Whole Grain Bread is a delightful and nutritious option for anyone looking to incorporate more whole grains into their diet. This bread isn’t only wholesome but also has a subtle sweetness from the honey, making it perfect for toast, sandwiches, or simply enjoyed with a pat of butter.
With its hearty texture and rich flavor, this recipe is sure to become a staple in your home.
Ingredients:
- 3 cups whole wheat flour
- 1 cup warm water (about 110°F)
- 1/4 cup honey
- 2 tablespoons olive oil
- 2 teaspoons salt
- 2 teaspoons instant yeast
Instructions:
In a large mixing bowl, combine the warm water, honey, and instant yeast; let it sit for about 5 minutes until it becomes frothy.
Then, add the olive oil and salt to the mixture before gradually incorporating the whole wheat flour. Stir until the dough begins to come together, then knead it on a lightly floured surface for about 10 minutes until smooth and elastic.
Place the kneaded dough in a greased bowl, cover it with a damp cloth, and let it rise in a warm place for about 1 hour or until it doubles in size.
Once risen, punch down the dough and shape it into a loaf. Place it in a greased loaf pan, cover, and let it rise again for about 30-40 minutes.
Preheat your oven to 350°F (175°C) and bake the bread for 30-35 minutes, or until it sounds hollow when tapped on the bottom. Allow the bread to cool before slicing.
Extra Tips:
For best results, make sure your water is warm but not hot, as too much heat can kill the yeast.
You can also experiment with different types of honey to add unique flavors to your bread.
If you want a softer crust, consider brushing the top of the loaf with melted butter immediately after baking.
Storing the bread in an airtight container or wrapping it in a cloth can help maintain its freshness for a longer period.
Enjoy the wholesome goodness of your homemade Honey Whole Grain Bread!
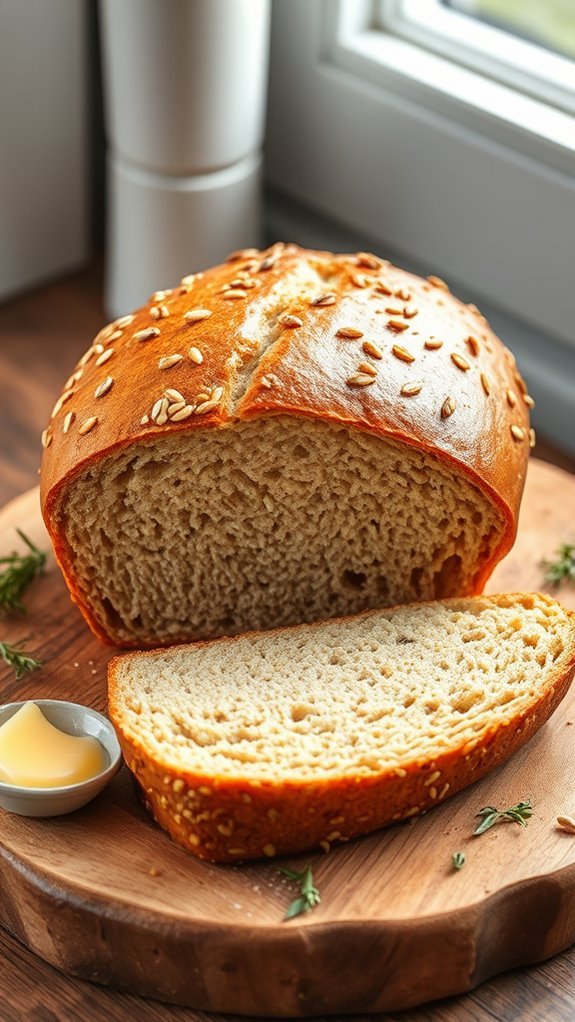
Seeded Whole Grain Bread
Seeded Whole Grain Bread is a hearty and nutritious option that not only satisfies your hunger but also offers a wealth of health benefits. Packed with fiber, vitamins, and minerals, this bread is perfect for sandwiches, toast, or simply enjoyed on its own.
The mix of seeds adds a delightful crunch and a nutty flavor, making each slice a wholesome addition to your meals. With a few simple ingredients and a bit of patience, you can create this delicious bread right in your own kitchen.
Ingredients:
- 2 cups whole grain flour
- 1 cup all-purpose flour
- 1/4 cup sunflower seeds
- 1/4 cup pumpkin seeds
- 1/4 cup sesame seeds
- 1/4 cup flaxseeds
- 2 teaspoons salt
- 2 tablespoons honey or maple syrup
- 1 packet (2 1/4 teaspoons) active dry yeast
- 1 1/2 cups warm water (about 110°F)
- 2 tablespoons olive oil
Instructions:
In a large mixing bowl, combine the warm water, yeast, and honey or maple syrup. Allow it to sit for about 5-10 minutes until it becomes frothy.
Then, add the whole grain flour, all-purpose flour, salt, and the mixed seeds. Stir until a dough forms, then turn it out onto a floured surface and knead for about 8-10 minutes until smooth and elastic.
Place the dough in a greased bowl, cover it with a cloth, and let it rise in a warm place for about an hour, or until it has doubled in size. Preheat your oven to 375°F (190°C).
Once the dough has risen, punch it down and shape it into a loaf. Place it in a greased 9×5 inch loaf pan and let it rise again for about 30 minutes.
Bake for 30-35 minutes or until the bread is golden brown and sounds hollow when tapped on the bottom. Allow it to cool on a wire rack before slicing.
Extra Tips:
For an added depth of flavor, consider toasting the seeds lightly before adding them to the dough.
You can also experiment with different seed combinations based on your preferences; chia seeds or poppy seeds can be great alternatives.
If you prefer a softer crust, cover the loaf with a clean kitchen towel immediately after baking.
Additionally, make sure you store the bread in an airtight container to keep it fresh for longer.
Enjoy your homemade seeded whole grain bread with your favorite spreads or toppings!
Whole Grain Banana Bread
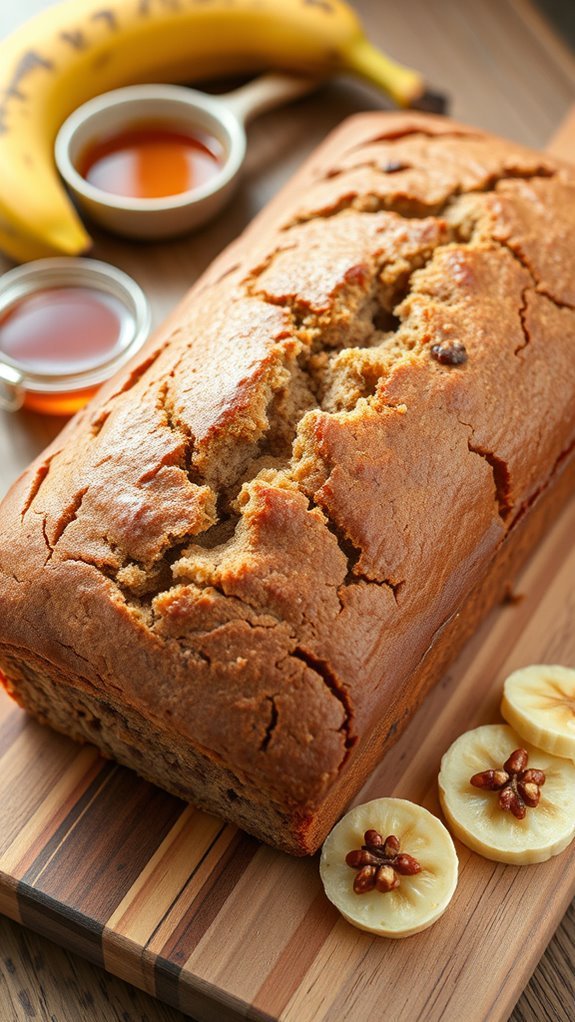
Whole grain banana bread is a delicious and nutritious way to enjoy this classic treat while getting the benefits of whole grains. The combination of ripe bananas and whole grain flour not only improves the flavor but also adds fiber and essential nutrients. This recipe is simple to follow and perfect for breakfast, a snack, or even dessert. Let’s get baking!
Ingredients:
- 3 ripe bananas, mashed
- 1/3 cup melted coconut oil or unsalted butter
- 1/2 cup brown sugar or honey
- 1 large egg, beaten
- 1 teaspoon vanilla extract
- 1 teaspoon baking soda
- Pinch of salt
- 1 teaspoon ground cinnamon (optional)
- 1 1/2 cups whole grain flour (such as whole wheat or spelt)
- 1/2 cup walnuts or chocolate chips (optional)
Instructions:
Preheat your oven to 350°F (175°C) and grease a 9×5-inch loaf pan.
In a mixing bowl, combine the melted coconut oil and mashed bananas, stirring until well blended. Add in the sugar (or honey), beaten egg, and vanilla extract, mixing until smooth.
In a separate bowl, whisk together the baking soda, salt, cinnamon, and whole grain flour. Gradually incorporate the dry ingredients into the wet mixture until just combined; avoid overmixing.
If desired, fold in walnuts or chocolate chips. Pour the batter into the prepared loaf pan and bake for 50-60 minutes, or until a toothpick inserted into the center comes out clean.
Allow the bread to cool in the pan for about 10 minutes before transferring it to a wire rack to cool completely.
Extra Tips:
For the best flavor, use very ripe bananas with plenty of brown spots.
You can also customize your banana bread by adding spices like nutmeg or incorporating fruits such as blueberries for a twist.
If you prefer a sweeter loaf, feel free to increase the sugar or add a few tablespoons of maple syrup.
Store any leftovers wrapped in plastic wrap or in an airtight container to keep the bread moist, and it can be frozen for up to three months.
Enjoy your wholesome creation!
Whole Wheat Sourdough

Whole wheat sourdough bread is a delightful and nutritious twist on traditional sourdough, featuring the rich flavors and health benefits of whole wheat flour. This recipe combines the tangy taste of sourdough with the hearty texture of whole grains, resulting in a loaf that’s perfect for sandwiches, toast, or simply enjoying with a pat of butter.
With a bit of patience and a few simple ingredients, you can create a delicious loaf that will impress your family and friends.
Ingredients:
- 500g whole wheat flour
- 350g warm water
- 100g active sourdough starter
- 10g salt
Instructions:
In a large mixing bowl, combine the whole wheat flour and warm water, mixing until a shaggy dough forms. Let it rest for about 30 minutes to allow the flour to hydrate.
After the resting period, add the active sourdough starter and salt, mixing until fully incorporated. Knead the dough on a lightly floured surface for about 10-15 minutes until smooth and elastic.
Place the dough in a lightly oiled bowl, cover it with a damp cloth, and let it rise at room temperature for 4-6 hours or until it has doubled in size.
After the first rise, gently deflate the dough and shape it into a round loaf, then place it in a proofing basket. Cover it and let it rise again for 1-2 hours.
Preheat your oven to 450°F (230°C) with a Dutch oven inside. Once the oven is hot, carefully transfer the dough into the Dutch oven, score the top with a sharp knife, and cover with the lid.
Bake for 30 minutes, then remove the lid and bake for an additional 15-20 minutes, until the crust is golden brown. Let the bread cool on a wire rack before slicing.
Extra Tips:
For best results, verify your sourdough starter is active and bubbly before using it in the recipe.
If you have a cooler kitchen, you may need to extend the rising times, while warmer environments may speed up the process.
Experiment with different hydration levels in the dough to find the texture you prefer – a wetter dough can yield a more open crumb.
Finally, storing your bread in a paper bag or wrapped in a kitchen towel will help maintain its crusty exterior while keeping the interior soft.
Quinoa Bread
Quinoa bread is a nutritious and gluten-free alternative to traditional bread that offers a delightful nutty flavor and a hearty texture. This bread is perfect for sandwiches or simply toasted with a bit of butter.
The combination of quinoa and flour creates a lovely rise while still being packed with protein and fiber, making it a wholesome addition to any meal. Whether you’re on a gluten-free diet or just looking to incorporate more whole grains into your diet, this quinoa bread recipe is both easy to make and delicious.
Ingredients:
- 1 cup cooked quinoa
- 1 cup whole wheat flour
- 1 cup all-purpose flour (or gluten-free flour blend)
- 1 teaspoon baking powder
- 1 teaspoon baking soda
- 1 teaspoon salt
- 2 tablespoons honey or maple syrup
- 1/4 cup olive oil
- 1 cup warm water
- 1 tablespoon apple cider vinegar
- Optional: seeds for topping (sunflower, sesame, or poppy seeds)
Instructions:
Preheat your oven to 375°F (190°C) and grease a loaf pan.
In a large mixing bowl, combine the cooked quinoa, whole wheat flour, all-purpose flour, baking powder, baking soda, and salt.
In a separate bowl, whisk together the honey, olive oil, warm water, and apple cider vinegar.
Pour the wet ingredients into the dry ingredients and mix until just combined, being careful not to overmix.
Transfer the mixture into the prepared loaf pan and smooth the top. If desired, sprinkle seeds on top before baking.
Bake for 35-40 minutes or until the bread is golden brown and a toothpick inserted in the center comes out clean.
Allow it to cool in the pan for about 10 minutes before transferring it to a wire rack to cool completely.
Extra Tips:
For the best flavor, make sure to use freshly cooked quinoa and let it cool before adding it to the mixture.
You can experiment with different types of flour or add spices like garlic powder or herbs to improve the flavor further.
If you prefer a softer crust, cover the bread with foil during the last 10 minutes of baking.
This quinoa bread can be stored in an airtight container at room temperature for a few days, or you can slice and freeze it for longer storage.
Enjoy your homemade quinoa bread with your favorite toppings or as a side with soups and salads!